Permanent Links
Nextform helps you collect and organize forms W-9, W-8BEN, and more. This guide will walk you through creating a permanent link that can be added to your website, or shared via email, text, or chat to collect forms for your organization. Our forms work great on both desktop and mobile browsers. If you need a more advanced integration, Nexform also provides a comprehensive API.
Step 1: Create an Account
Sign up for a free account. No credit card is required, and you'll get 20 free forms to test things out. If you would like to receive email notifications when you receive a form, navigate to the organization settings page and add an email address for notifications.
Step 2: Create a Link
Navigate to the links page, select W-9 from the dropdown menu and enter your own website address as the success URL. This will generate a shareable link that you can use anywhere to collect forms. Once a user completes the form, they will be sent back to your website.


Step 3: Collect Forms
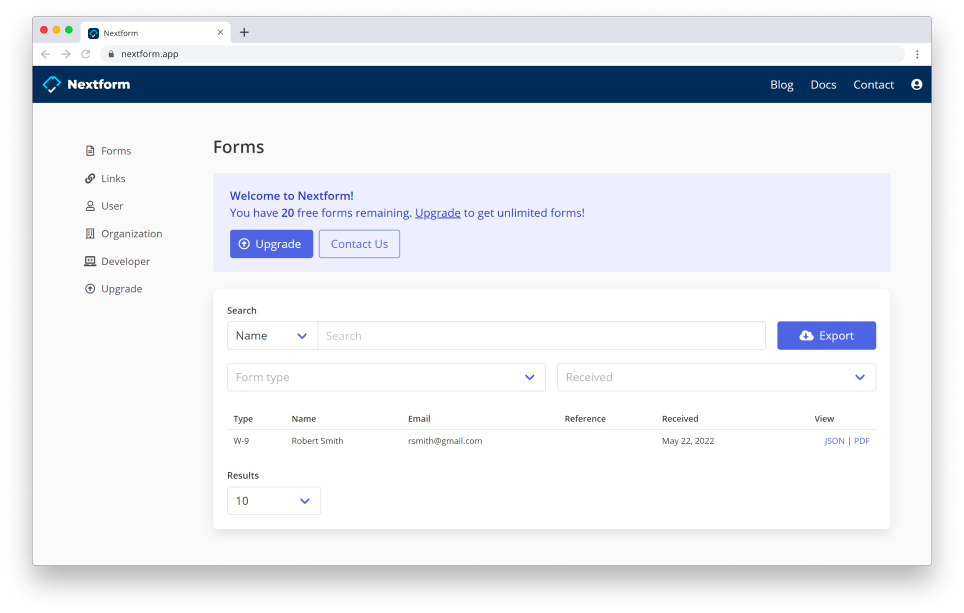
After creating a link, click on it to load the form. Fill in the form with mock information. Once you complete a form, you will be redirected to the success URL and the form will appear on your forms page. Forms are searchable by name, email address, and more. You can easily view and download an official PDF of the form, and you can export a CSV file with all your data by clicking the Export button.
Nice work! If you want to collect other types of forms, return to the links page to create a link for each type of form you would like to collect. If you would like to add your company name and logo to the forms, upgrade to a monthly or yearly subscription.
Next Steps
- Unlock unlimited forms with a monthly or yearly subscription.
- If you need more forms for testing, please contact us.
- Check out our API and webhooks if you need a more advanced integration.